I have learned many different techniques to make armor and props thoughout my years of cosplaying. For this tutorial, I will be going through some specific examples of things I have created using a combination of the materials listed below. This is more informational than an actual step-by-step tutorial - Hopefully helpful information you can combine to make awesome things on your own!
Table of Contents:
(click the content items to go to that section)
Materials I commonly Use
Basic Construction tips
Wonderflex
Paper Clay
Crayola Model Magic
Insulation Foam
Foam Board and Craft Foam
Sanding, Painting, and Finishing
Getting your final project smooth and ready to paint
Pre-paint Preparations
Painting and Finishing
(For more specific details on some of these materials, please see the Materials 101 tutorial)
Creative Paper Clay |
Rigid Wrap  |
Craft Foam aka "Foamies"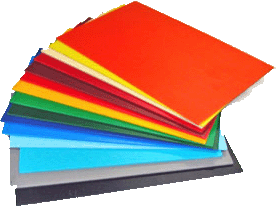 |
Crayola Model Magic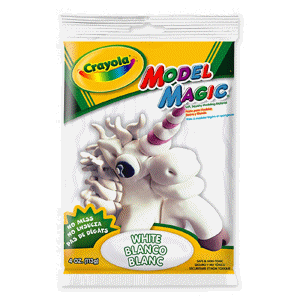
|
Modge Podge 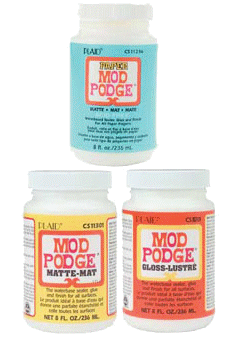 |
Gesso 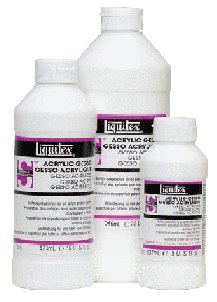
|
Acrylic paint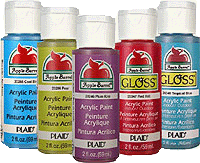 |
Acrylic Varnish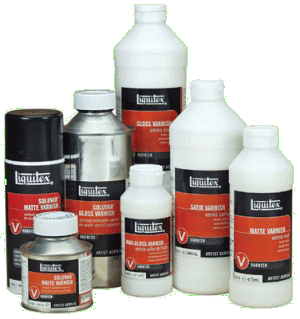 |
Foam Board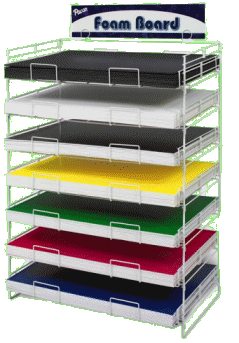 |
Insulation foam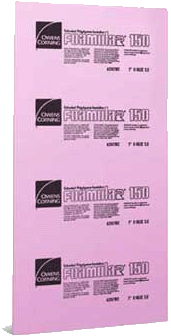 |
Wonderflex
|
Basic Construction Tips:
Wonderflex:
As a base shape:
Wonderflex makes a great base for many types of things. The key to making it sturdy and less flexible is to cut out two of what you need and melt them together before molding it into it's final shape. I do this by laying the cut pieces flat on an extra large cutting board (this is one I have designated strictly to cosplay products, not cooking!). I heat up both pieces with a heat gun, and then lay them on top of each other. Next, I roll over them as hard as I can with a rolling pin to securely melt them together.

Photo: Large heavy-duty cutting board that I use to heat up Wonderflex with a head gun. I also hot glue projects on this to protect the floor or table.
(click to enlarge)
On it's own:
(getting rid of that weird mesh texture)
I have, on occasion, used Wonderflex without any type of vinyl or clay covering it.
An example of this would be my Pocco armor (seen below in my Wonderflex examples)
I decided not to cover it with any sort of clay since it has 4 separate layers that are connected, and getting clay around and under each detail would be difficult.
Advice: An important fact you should keep in mind when constructing armor pieces that are moving around a lot or are going to take a lot of stress (for example, armor on the shins or shoes): Paper clay will crack! Therefore, this Wonderflex method would be a better choice for durability purposes.
I am very picky about my props looking smooth, and if any of you have ever used or seen Wonderflex before, you have probably noticed that weird mesh texture that it has, and it still shows through even when you paint over it. It's really annoying, and it's not pretty looking. The best that way I have found to cover up the texture without a covering of clay or vinyl is to coat it in thick layers of Matte Modge Podge (let each layer FULLY dry before adding the next). After about two layers of Modge Podge, I add a layer of White Gesso paint (also let this dry FULLY), and then sand lightly with a fine grained sand paper. Repeat these steps, until you get the smoothness you desire. Before you paint it, be sure to add one more layer of the Gesso on top of the Modge Podge - this will help the paint adhere to the surface much better.
Examples of how I have used Wonderflex:
Penelo armor base:
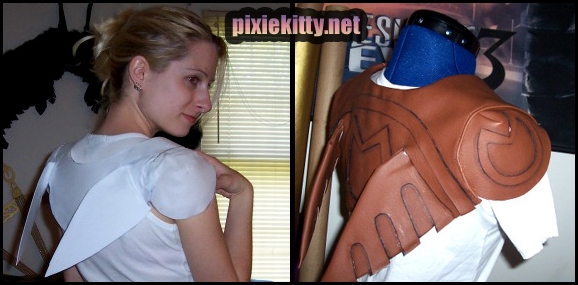
Photo: The base of my Penelo armor was made of Wonderflex, and then covered in brown vinyl with hot glue.
(click to enlarge)
Pocco armor:
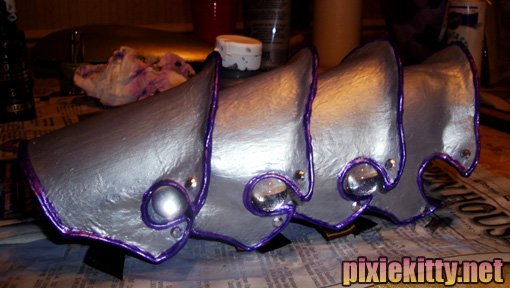
Photo: Pocco armor covered in layers of Modge Podge and gesso, sanded, painted, and finished with Liquitex matte varnish.
(click to enlarge)
This is a wonderful Air dry clay that I use quite often for my costume peices! I generally use this for smaller props and over a base shape. Large things made of pure clay tend not to dry well in the center, crack, and will end up weighing way more than they need to in the end.
Examples of how I have used Paper Clay:
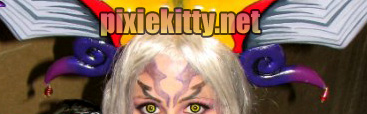
Sorceress Edea Headpeice:
A base shape of my head was made by wrapping my head in plastic wrap and making a case with strips of Ridgid Wrap strips (this can be purchased at many craft stores such as Michaels and A.C. Moore). After letting that base fully dry, I slowly added thin layers of Paper Clay, letting each layer dry thoroughly (this is important in the durability of the clay and reduces cracking as it dries). Each horn has a wire and paper mache base with Paper Clay on the outside.
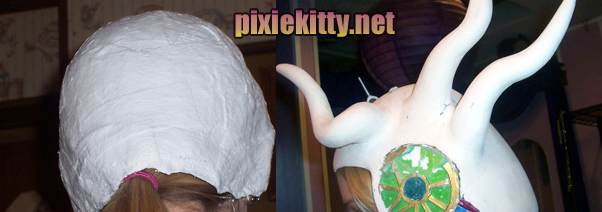
Photo: Ridgid wrap base shape on the left, and then covered with clay on the right
(click to enlarge)

Photo: My Edea headpeice covered in clay with its first layer of paint over gesso. The tape across the top helps to paint a straight line.
(click to enlarge)
Tira Hat Horns:
Paper Clay is great for little details on costumes such as the little horns on this hat. Once dry, it sticks to surfaces pretty with hot glue or super glue.

(click to enlarge)
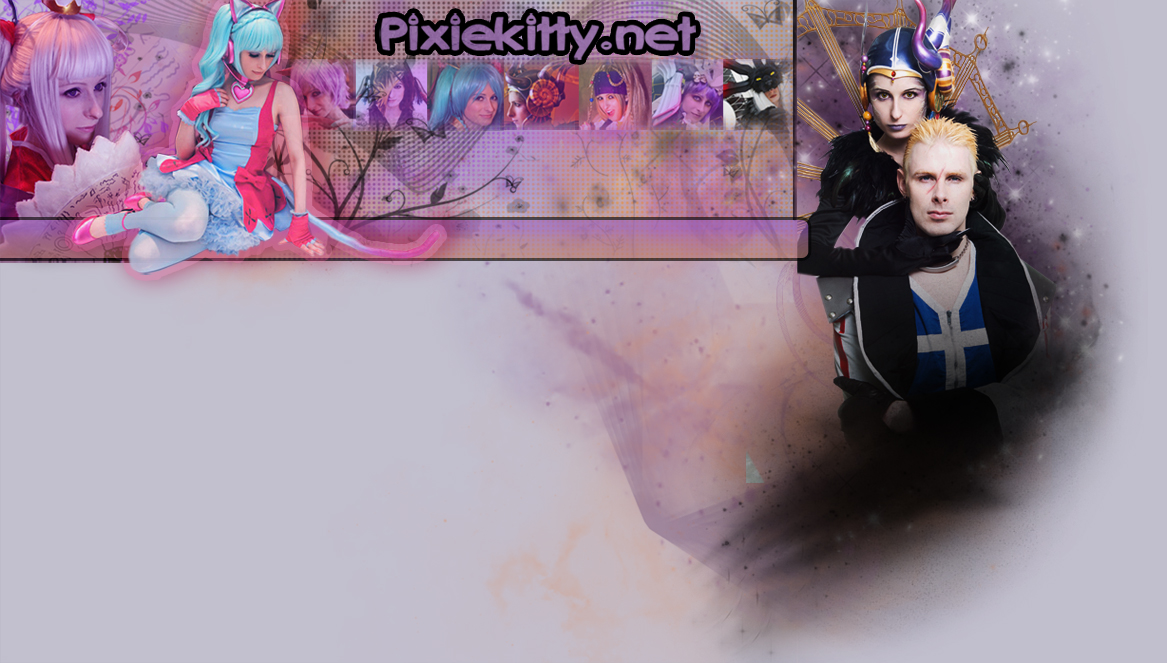
Tira Gauntlets:
These have a Wonderflex base for support, and the details are risen up with strips of Craft Foam. The base is covered in several layers of Paper Clay, and sanded excessively for smoothness. (see the Sanding, Painting, Finishing section below for more details on sanding and smoothing Paper Clay)
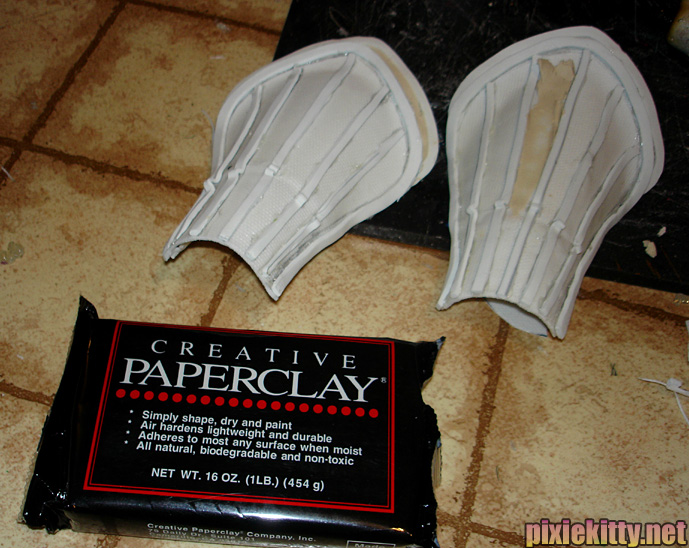
Photo: Tira gauntlets in progress. Wonderflex base, details risen with strips of craft foam, and starting to be covered with Paper Clay in this photo.
(click to enlarge)
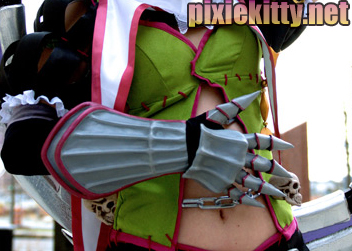
Photo: Completed Tira gauntlets
(click to enlarge)
Berserker Rikku necklace:
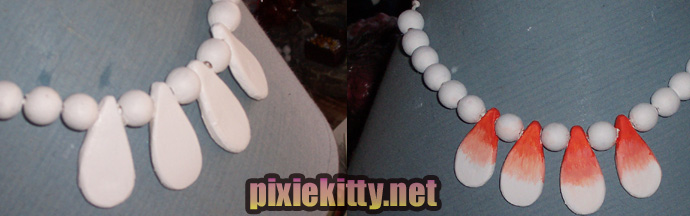
Photo: left - Bersker Rikku necklace beads made of Paper Clay, and painted on the right.
(click to enlarge)
Berserker Rikku Armor:

Photo: Berserker armor progress. Left to right: Ridgid wrap base, covered with paper clay, and painted with acrylic paint and gloss Liquitex varnish for protection.
(click to enlarge)
Crayola Model Magic:
This is also an air-dry clay like Paper Clay, but it's texture and weight is very different. This stuff is a lot more elastic and sticks together more than Paper Clay when wet, it's not nearly as easy to sand as Paper Clay, and it is VERY lightweight when it dries which is a huge plus. When it dries, it is not as hard as Paper Clay - it has a smooth foam texture to it. It is not really great to sand it, but you can do it if you are VERY careful with very fine grain sandpaper. (see the Sanding, Painting, Finishing section below for more details on sanding and smoothing Crayola Model Magic)
Examples of how I have used Crayola Model Magic
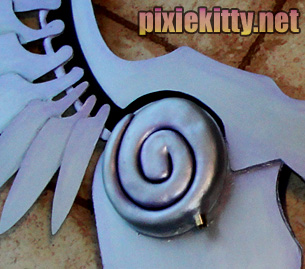
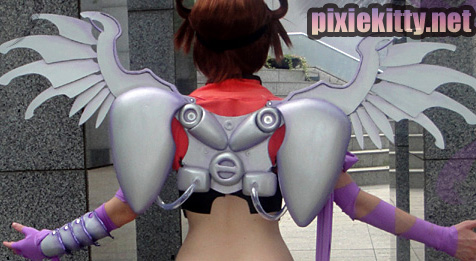
Swirl details on Pocco Wings:
Swirl detail on Edea head peice:
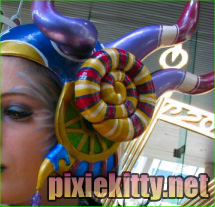
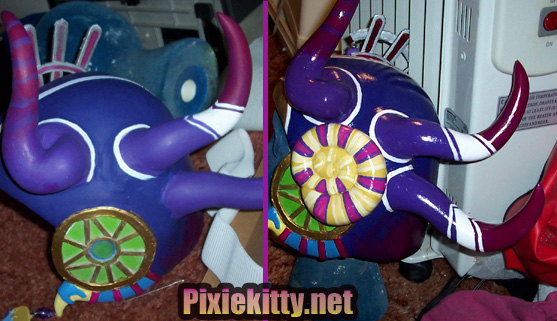
Swirlies on the Ultimecia horns:
Insulation foam is normally used to insulate houses. It comes in very very large sheets, so when you buy it, have it cut into two pieces for the sake of storage and getting it home! I had to tie it to the roof of my car to get it home - but that was 4 years ago, and I still have tons left! It lasts a very long time! It comes in various thicknesses, depending on what you want to make with it - For more information about insulation foam thickness options and more, please see the Materials 101 tutorial. (see the Sanding, Painting, Finishing section below for more details on sanding and smoothing insulation foam)
Examples of how I have used insulation foam:
Joshua Horns:

(click to enlarge)
Vocaloid head phones:

(see Vocaloid headphone tutorial for more info on making this)
(click to enlarge)
Back details and egg shaped things on Pocco wings:
(click to enlarge)
Foam Board and Craft Foam
Everyday foam board can be purchased in the same section as regular poster board. It is basically poster board with a layer of foam in-between for thickness. It is very ridgid, and gets permanent creases when bent. It takes acrylic paint well, and it is easy to cut with a sharp exacto knife. There are higher quality types of this foam board called "foam core"
available online, but I have not worked with that yet.
Craft foam aka "Foamie" is a low-cost smooth plastic-foam that comes in many colors and sizes. For more information please seeMaterials 101.
Examples of how I have used craft foam and foam board foam:
Tira pendants:

Photo: Tira skulls pendants complete above, and in progress below. Made with a combination of Wonderflex, Paper Clay, and Craft Foam.
(click to enlarge)
Edea backpeice:
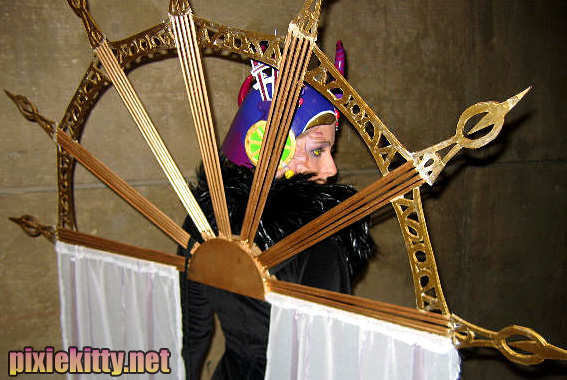
Photo: Edea back piece details carved from foam board with an Exacto knife, then painted with gold acrylic paint.
(click to enlarge)
Sher-ra headpeice and gaunlets:
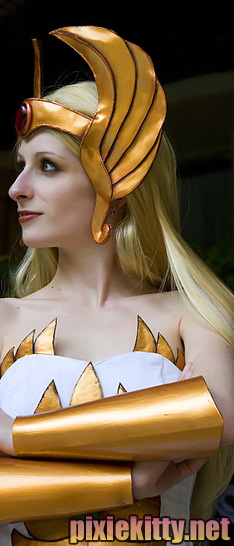
Photo: Shera headpiece made with layers of craft foam on top of a Wonderflex base for stability. Gauntlets made with 6mm "Foamie". Painted with gold acrlyic paint.
(click to enlarge)
Sanding, Painting, and Finishing:
The finishing touches really make a big different in the way your work looks in the end! Having a smooth finish is very important!
Getting your final project smooth and ready to paint:
Paper Clay - I try to get the clay as smooth as possible while it's wet by dipping my fingers in water and running them over the surface of the clay. Paper clay is very easy to sand though, so this is not as critical as with other types of clay. If your prop is pretty rough looking with lots of bumps when it dries, start out with a rough grain sand paper and move to a more fine grain as you get the surface smoother. You may have to fill in little dents and dings with spots of clay here and there as you go. Once you have all those dents filled in, go over the surface with a very fine sandpaper until the smoothness is to your liking.
Crayola Model Magic - It's important to get this clay as smooth as possible before it dries. Because of it's smooth, light consistency, I think this is much easier to achieve than with Paper clay (Paper clay is very gummy and sticky when you get it wet). I keep a glass of water next to me while working with the clay. As you progress, dip your fingers in the water and smooth them over the surface of the clay. Once the clay is completely dry (for thicker pieces, I let them sit for at least two full days to dry), you can sand it if necessary but VERY lightly and VERY carefully with a very fine grain sand paper. If you sand too aggressively, you may rip out small chunks of the clay. This type of clay dries with a fluffy foam-like consistency, but can look VERY smooth if you take your time when sculpting with it.
Insulation Foam- This stuff is sand-able if you are careful and use a fine grain sand paper. Sanding too aggressively or using to thick of a grain could rip small chunks out of it (similar to the Crayola Model Magic clay).
WARNING: Use a dust mask rated for small particles when sanding insulation foam. Sand it outside or in a well ventilated area. The particles that fly off can be harmful if you breath too much of it in!
Wonderflex covered with Modge Podge and Gesso - Once you have covered your Wonderflex armor piece in a few layers of Modge Podge (and let each layer dry thoroughly between applications), paint a few layers of Gesso over the Modge Podge. I use a thick paint brush to paint the Modge on, and a thinner paint brush for the Gesso layers.
After the Gesso dries, you will be able to more easily see imperfections. Use a fine grain sand paper to sand the surface until it feels more smooth to the touch --- repeat these steps until you achieve your desired smoothness (Modge Podge layers, Gesso, sand - repeat).
Pre-Paint Preparations:
Paper Clay - Cover with several layers of Gesso, sanding in between layers as they dry, and filling in the dents and nicks with more clay as you go along. The Gesso helps to both protect the clay and fill in any imperfections of the clay before you paint your project.
Crayola Model Magic - This can be painted directly without Gesso if you were careful when working with it when it (by following the directions above). I do, however, cover this in several layers of Gesso also for added protection and smoothness.
Insulation Foam- I cover it in several layers of Modge Podge (Elmer's Glue would also work) followed by a few layers of Gesso with a light sanding - This helps to protect the foam, eliminates the "foam-like" texture, and seals the foam so that it does not absorb the paint (so you will need less layers of paint)
Wonderflex covered with Modge Podge and Gesso - Lightly sand the final layer of gesso to ensure it has a smooth texture.
Painting and Finishing:
Acrylic paint : This my number one choice of paint, and is what I most commonly use. It is a non-toxic, non-corrosive, latex-based paint. It paints well on many surfaces, including all of the materials listed on this page, and it's really safe to use! It's easy to clean off your hands, but like most paint, is near impossible to get our of carpet or clothing after it has dried (so be sure to clean it up immediately if you spill any!)
It comes in a variety of colors and mediums as well as many different brands. It's easily thinned out with water, dries quickly, it's easily cleaned out of paint brushes when wet, and has no nasty odor or fumes. For most of my projects, I do just fine using the more low-cost brands such as Apple Barrel, Delta Creamcoat, Americana, or FolkArt
Some of the higher quality, more expensive artist brands include Liquitex and Golden
Spray paint: This can be used on Paper Clay and on Wonderflex. But NEVER use it on a foam product!
Warning: Be careful when painting any type of foam with anything that comes from a spray can (this includes acrylic gloss) - These contain petroleum which disintegrates foam products. It will eat the foam or cause it to bubble up if the foam is not properly sealed beforehand. This is why I always use acrylic paint on foam surfaces, even after I seal them.
Acrylic varnish/ clear coat/finish - There are many different types and brands of paint-on Acrylic varnish. My brand of choice is Liquitex. It's a little pricey, but it's really good quality. I've had great luck with it. It can be found in the canvas/painting section at Craft stores such as Michaels or A.C. Moore. You can choose from matte (minimal shine), gloss, and super gloss - this of course, depends on the look you are going for. No matter what, you should always put a clear protective coat over your paint job after it has had ample time to fully dry. This helps to protect the paint from chipping, strengthens your prop, and just generally makes it look more finished and professional.
Here are some examples of how different your project will look without a varnish finish and with a varnish finish:
Left: Edea headpiece with paint alone, Right: Complete with Liquitex gloss varnish
(click to enlarge)

Left: Tira armor with paint alone, Right: Complete with Liquitex matte varnish
(click to enlarge)