
I have gotten many questions about these head phones! They were actually very simple and easy to make, so here's the tutorial I've been promising! I forgot to take photos as I made them, so I don't have a lot of in-progress photos to help explain the process. I hope this tutorial makes sense! If you need more information on a material be sure to check the materials 101 page before emailing your question, and then if you have any questions or need anything explained further feel free to send me a message atpixiekitty@pixiekitty.net !
Materials:
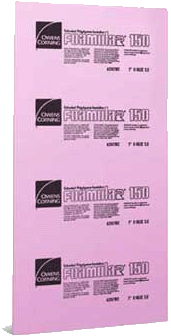
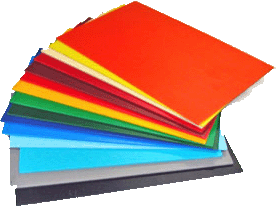
| 1 inch insulation foam
|
foam glue  |
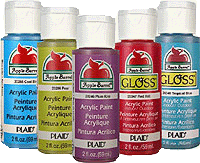
Acrylic paint
|
Cheap headset with microphone (I bought mine from EBay)
|
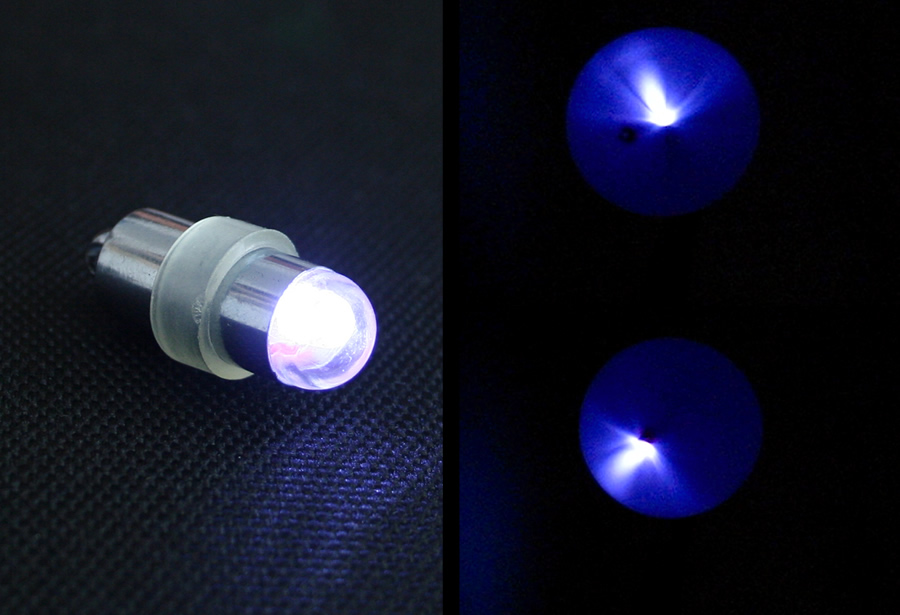
| LED party balloon lights(buy at party store or Wal-Mart wedding section)
|
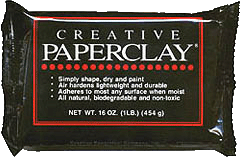
Paper clay
|
Craft foam aka Foamie
|
- hot glue
- clear vinyl (about 6 inch square)
- Gesso
- textile medium
- Acrylic gloss varnish
- pliers
- fine grain sand paper
- exacto knife
- 1/2 inch upholstery foam (the soft squishy stuff used for couch cushions)
Tutorial:
1. Draw out the shape of your headphones on a piece of paper and cut it out to use as a pattern. Use that pattern to trace the shape twice on your insulation foam and twice on the upholstery foam.
For the insulation foam, cut out the shapes using a serrated knife or heat knife (melts through the foam. I have just gotten one of these, but I've yet to actually use it, so I have limited knowledge!). Cut out a "d" shaped hole in the headphones for the red light-up section.
For the upholstery foam, you can just use scissors. Do no cut any holes in these.
2. Use your fine grain sand paper to smooth out the outer surface and round out the edges on the insulation foam pieces. Be sure to sand lightly so you don't take little chunks out of the foam!
For the two upholstery foam pieces, mix your color of choice (on my headphones, it's black) with some Acrylic textile medium to make the paint more flexible. Paint several layers over the foam until it's a uniform color. Let dry completely and set aside.
3. After you are happy with the size and general shape of your headphones made from the insulation foam, you can use the Paper Clay to fill in any small holes or imperfections you may see. It shouldn't take too much, and you shouldn't have to cover the entire headphone if you were careful when you were sanding.
Insulation foam can be made to look very smooth with patience. Use the water method mentioned in the materials 101 tutorial to help blend the clay in with the foam. Set aside to dry completely.
3. After the clay has dried, sand again, and reapply clay as needed to perfect and smooth them out. Cover them in several layers of white Gesso (this is also sand able to get an even smoother surface!) The Gesso primes the foam for painting and stops it from absorbing the colored acrylic paint.
4. Cut out the button details from your Foamie with an exacto knife. Glue them in their correct places with the foam glue. Let them dry completely.
5. Carve a small notch toward the front of one of the headphones on the back side (the side that will be closest to your face) to fit the little microphone into. I used hot glue for this as well.
6. Now it's time to be destructive! With pliers, rip off the microphone section of the headphones, and rip of the headphone sections while you're at it. Basically what you should have left is just the headband section with nubs at the end.
7. Now attach the head phones to the "nubs" in their respective places. Even though it sounds stupid, I used hot glue for this part - I was just very careful not to use too much and melt clear through the foam. (I often make things on a whim without planning them out though, lol). I didn't think the foam glue would be sturdy enough for this part, but feel free to try!
8. After you feel they are attached well, paint the headphones and all the little details with acrylic paint. After you are happy with your paint job, cover with at least two coats of acrylic gloss (let the first coat dry before you apply the second, and third.. and so on...)
9. Attach the painted upholstery foam to the backs of the headphones with foam glue (I also used hot glue here for mine - I'm not saying it's the best thing to use, but it worked!). Be sure to leave the upper edge unglued so you can slip the lights into them! The purpose of the upholstery foam is to provide comfort for your ears/head and to mock the look of real headphones.
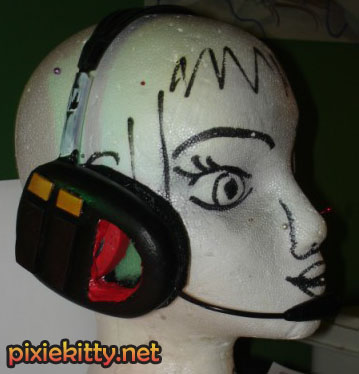
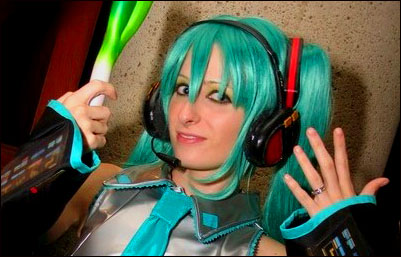
Here is roughly what they should look like at this point:
5. Cut out two "D" shapes from you clear vinyl slightly bigger than the "D" cut out in your headphone pieces. On one side of the vinyl, use acrylic paint to make it the color you need. Do several layers of paint and paint in several directions to cut down on brush marks. After they are completely dry, glue them over the holes in each headphone with the painted side facing down carefully with a very thin line of hot glue.
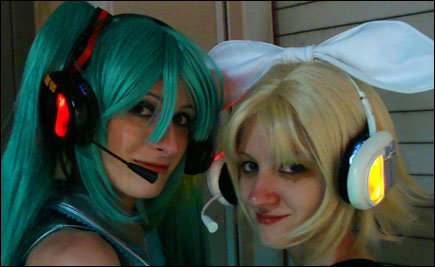
And you should have some fun little headphones now! You should be able to slide the little LED lights in and out of your headphones, and they will illuminate the colored vinyl :) Have fun!
. I'll be sure to update with how that goes when I get there!