

This is certainly something that I have been asked to do a tutorial on often. It's a pretty difficult thing to write a specific step-by-step tutorial on since it really depends on what you are specifically trying to make, what you're starting with, your experience level, etc.. Therefore, I have made this tutorial quite broad/basic in hopes of giving enough knowledge to help you get started on your own specific pattern projects. I have given multiple example photos to help explain my strange ramblings!
Helpful Materials:
Measuring tape
|
Sewing Pins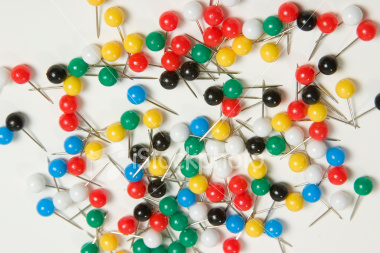
|
Dress Form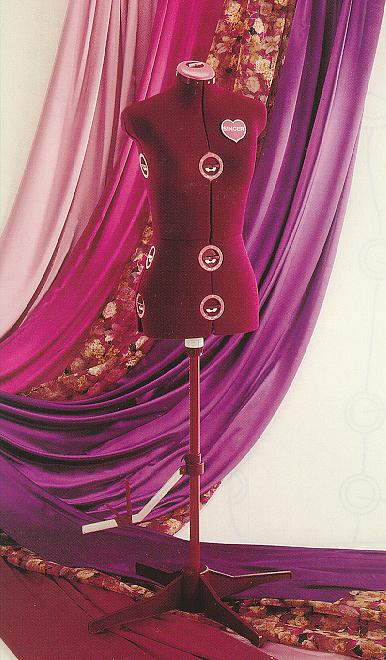 |
Clear Tape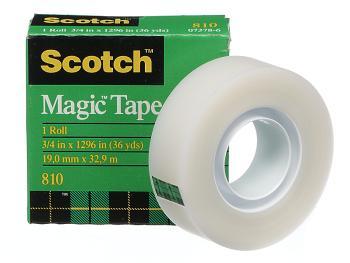
|
| Newspaper
|
Scrap/cheap fabric
|
Black marker
|
The Basics:
Altering patterns sounds pretty scary if you're the type of person that makes costumes directly from a pattern. As you move onward with your sewing skills, getting better with this skill will really broaden the costumes that you can make. You will be much less limited to patterns, and you'll spend a lot less time searching for the perfect pattern that you may never find - because lets face it, a lot of those anime and video game characters have some crazy clothes!
First thing is first - Pattern basics! Enjoy this video with a chick that that looks like Pamela Anderson Lee!
Patterns come with deailed directions inside, and the more popular ones such as Simplicity and McCalls have a key with the sewing terms and their meaning-so reading that is a good start! It just takes practice and patience to get better with using basic patterns.
Before you move onto altering and creating patterns, you should have practice and experience following basic patterns (I.E. basic shirt, pants, dresses) so that you are familiar with how things work and go together.
Altering an existing pattern:
(The Pixiekitty way!)
Step 1: Choose a Base Pattern
Examples:

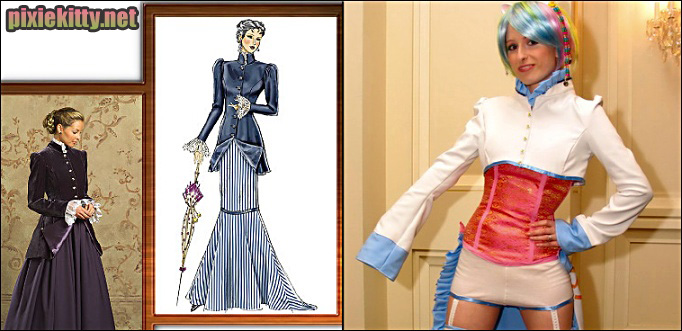
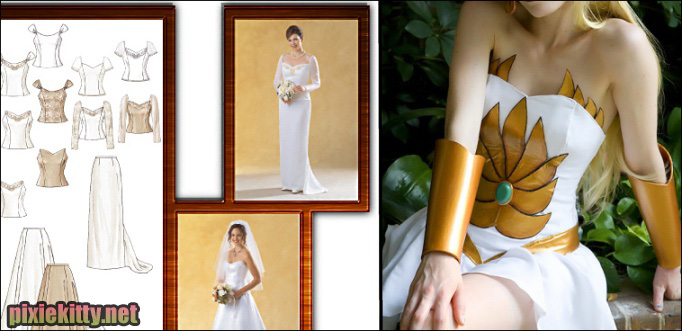
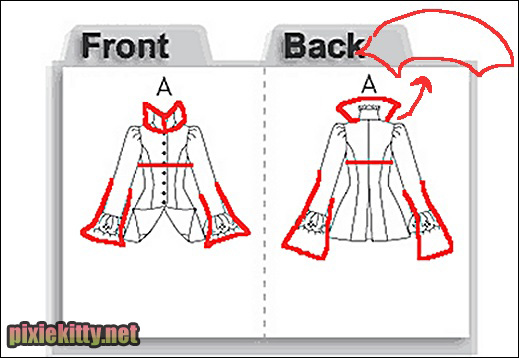
Step 2: Add or take away from the pattern
Cut the pattern pieces as normal. I use newspaper to add to patterns. Lay your pattern pieces out flat and piece them together to get an idea of where they connect with each other. Once you have a clear idea of what needs to be changed on the pattern to achieve the look you need, you can cut out the add-ons from the newspaper or cut what you need away. As I said beore,there really isn't a way that I can give a step-by-step tutorial on this sort of thing since every pattern is different, so instead I'll provide a few example photos below to give you some ideas!
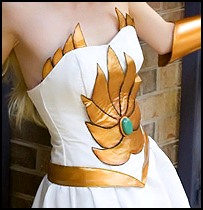
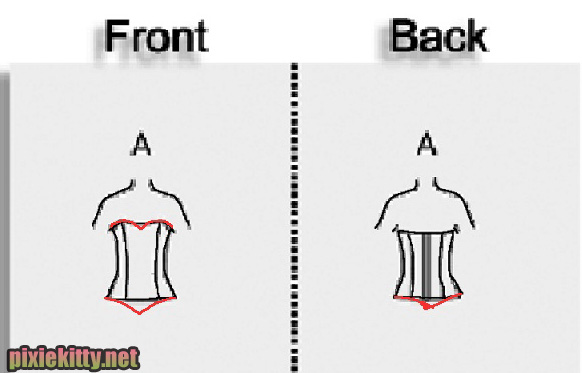
She-ra bodice:
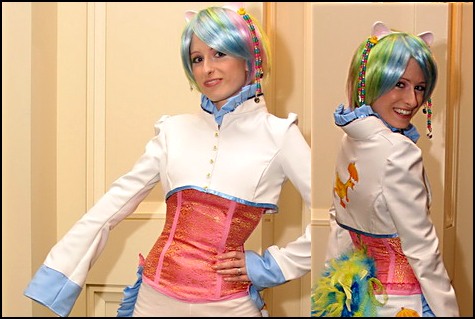
My Little Pony Coat:
Creating a pattern:
(The Pixiekitty way!)
I am not a super-sewing queen of doom, so I only do this with more simple things such as shirts and pleated skirts. For this, I use scrap/low-cost fabric so that I can pin it together to try it on over and over to get good pattern pieces that fit together. It takes a lot of pinning, trying on, cutting, re-pinning, etc.
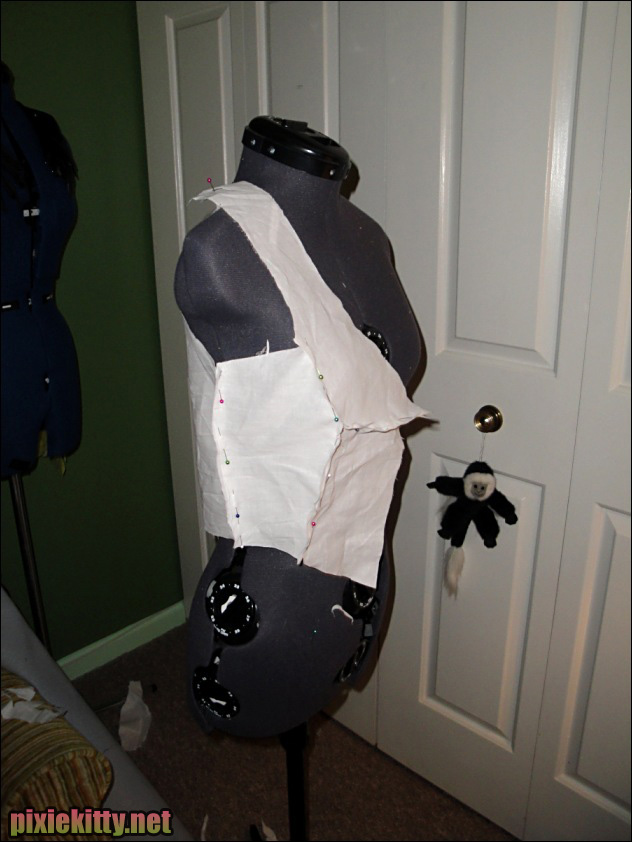
Dress forms: Though not required, you will find that having a dress form is VERY helpful for creating a pattern.
I have an adjustable dress form, so I can adjust it roughly to my size - this saves so much time in not having to try something on over and over again! Of course you'll still need to try the garment on throughout to make sure it fits to YOUR body and not just the dress form. I got my dress form from the online Joann Fabrics website. There are various different types to choose from on there! Be sure to choose a dress form that goes to your measurements! The first one I got as a gift didn't go to a smaller enough size for me, so I couldn't fit any of my finished costumes onto it.
My process:
Step 1: Acquire scrap/low cost fabric. This can really be any type of fabric as long as it's not uber stiff like canvas or something.
Step 2: Measure yourself in the appropriate places for what you are making (that sounds really awkward, lol) with a measuring tape.
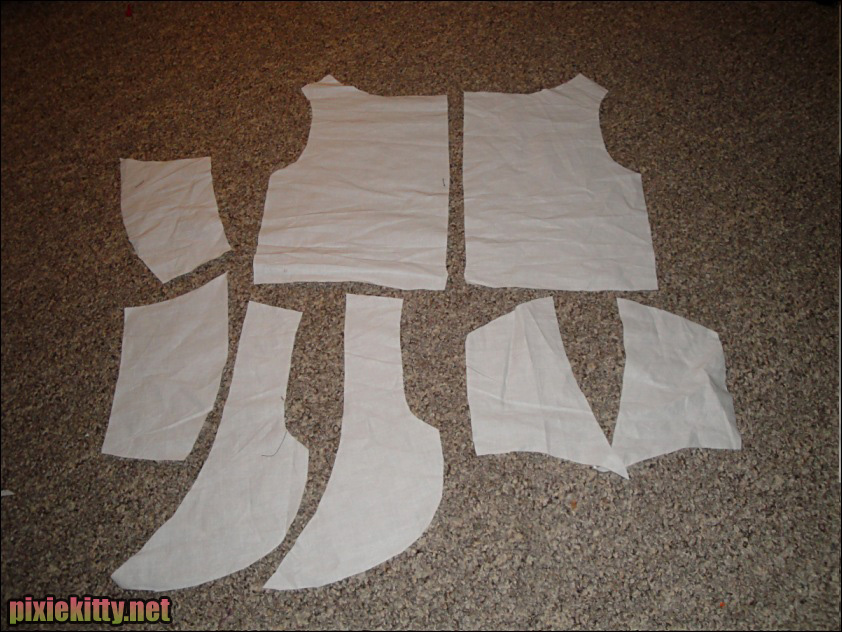
Step 3: Lay some newspaper out flat on the floor, and use your measurements as a guide to roughly sketch out your basic pieces. I always draw the pieces bigger than needed at first so that I adjust shapes and fittings as I go along. Once you cut out the pieces, hold them up to yourself to get an idea if they will work or not. If you're happy with how things appear so far, then move on to step 4!
Step 4: Cut the pieces out from your scrap fabric using the pieces you just made from the newspaper. After you have cut this out, you can pin the fabric pieces together to really see if the pattern is working. From here, it's all just fitting, re-cutting, and re-drafting until you get what you need out of the pattern (this is the part where having a dress form becomes VERY helpful). This takes some patience and time, especially if you're relatively new at it (I know I keep saying this, but I cannot stress this enough - it be true!!). I often re-draw/re-cut parts of the pattern over and over until the pieces fit correctly together to make what I want - this is why I say to use newspaper and cheap/scrap fabric - so you don't have to spend a lot of money just in the pattern drafting stage.


Also, CHALK IS YOUR FRIEND!! Chalk is great to use to sketch things onto fabric since it rubs off easily and won't stain it. Never use pen or sharpie on fabric as it will bleed into the fabric and stain it.
So there you have it, that's my best shot at writing a tutorial on altering/creating patterns! I hope this tutorial is at least a little helpful! If things don't work out in the first try, keep trying and have patience! This does take a little practice.